Introduction to Home Irrigation Systems
Living in Osteen, Florida, means enjoying lush landscapes year-round. However, maintaining such beauty requires efficient water management. Setting up a home irrigation system can seem daunting, but with the right guidance, even beginners can achieve a thriving garden. This guide will walk you through the basics of setting up an irrigation system tailored to the local climate and your specific garden needs.
Understanding Your Garden's Needs
Before diving into the installation process, it's essential to understand your garden's specific requirements. Consider the following:
- Soil Type: Sandy, clay, or loamy soils have different water retention properties.
- Plant Types: Different plants have varying water needs.
- Sun Exposure: Areas with more sunlight may require more frequent watering.
Knowing these factors will help you choose the right irrigation system components.
Choosing the Right Irrigation System
There are several types of irrigation systems suitable for residential gardens. Here are the most common ones:
Drip Irrigation
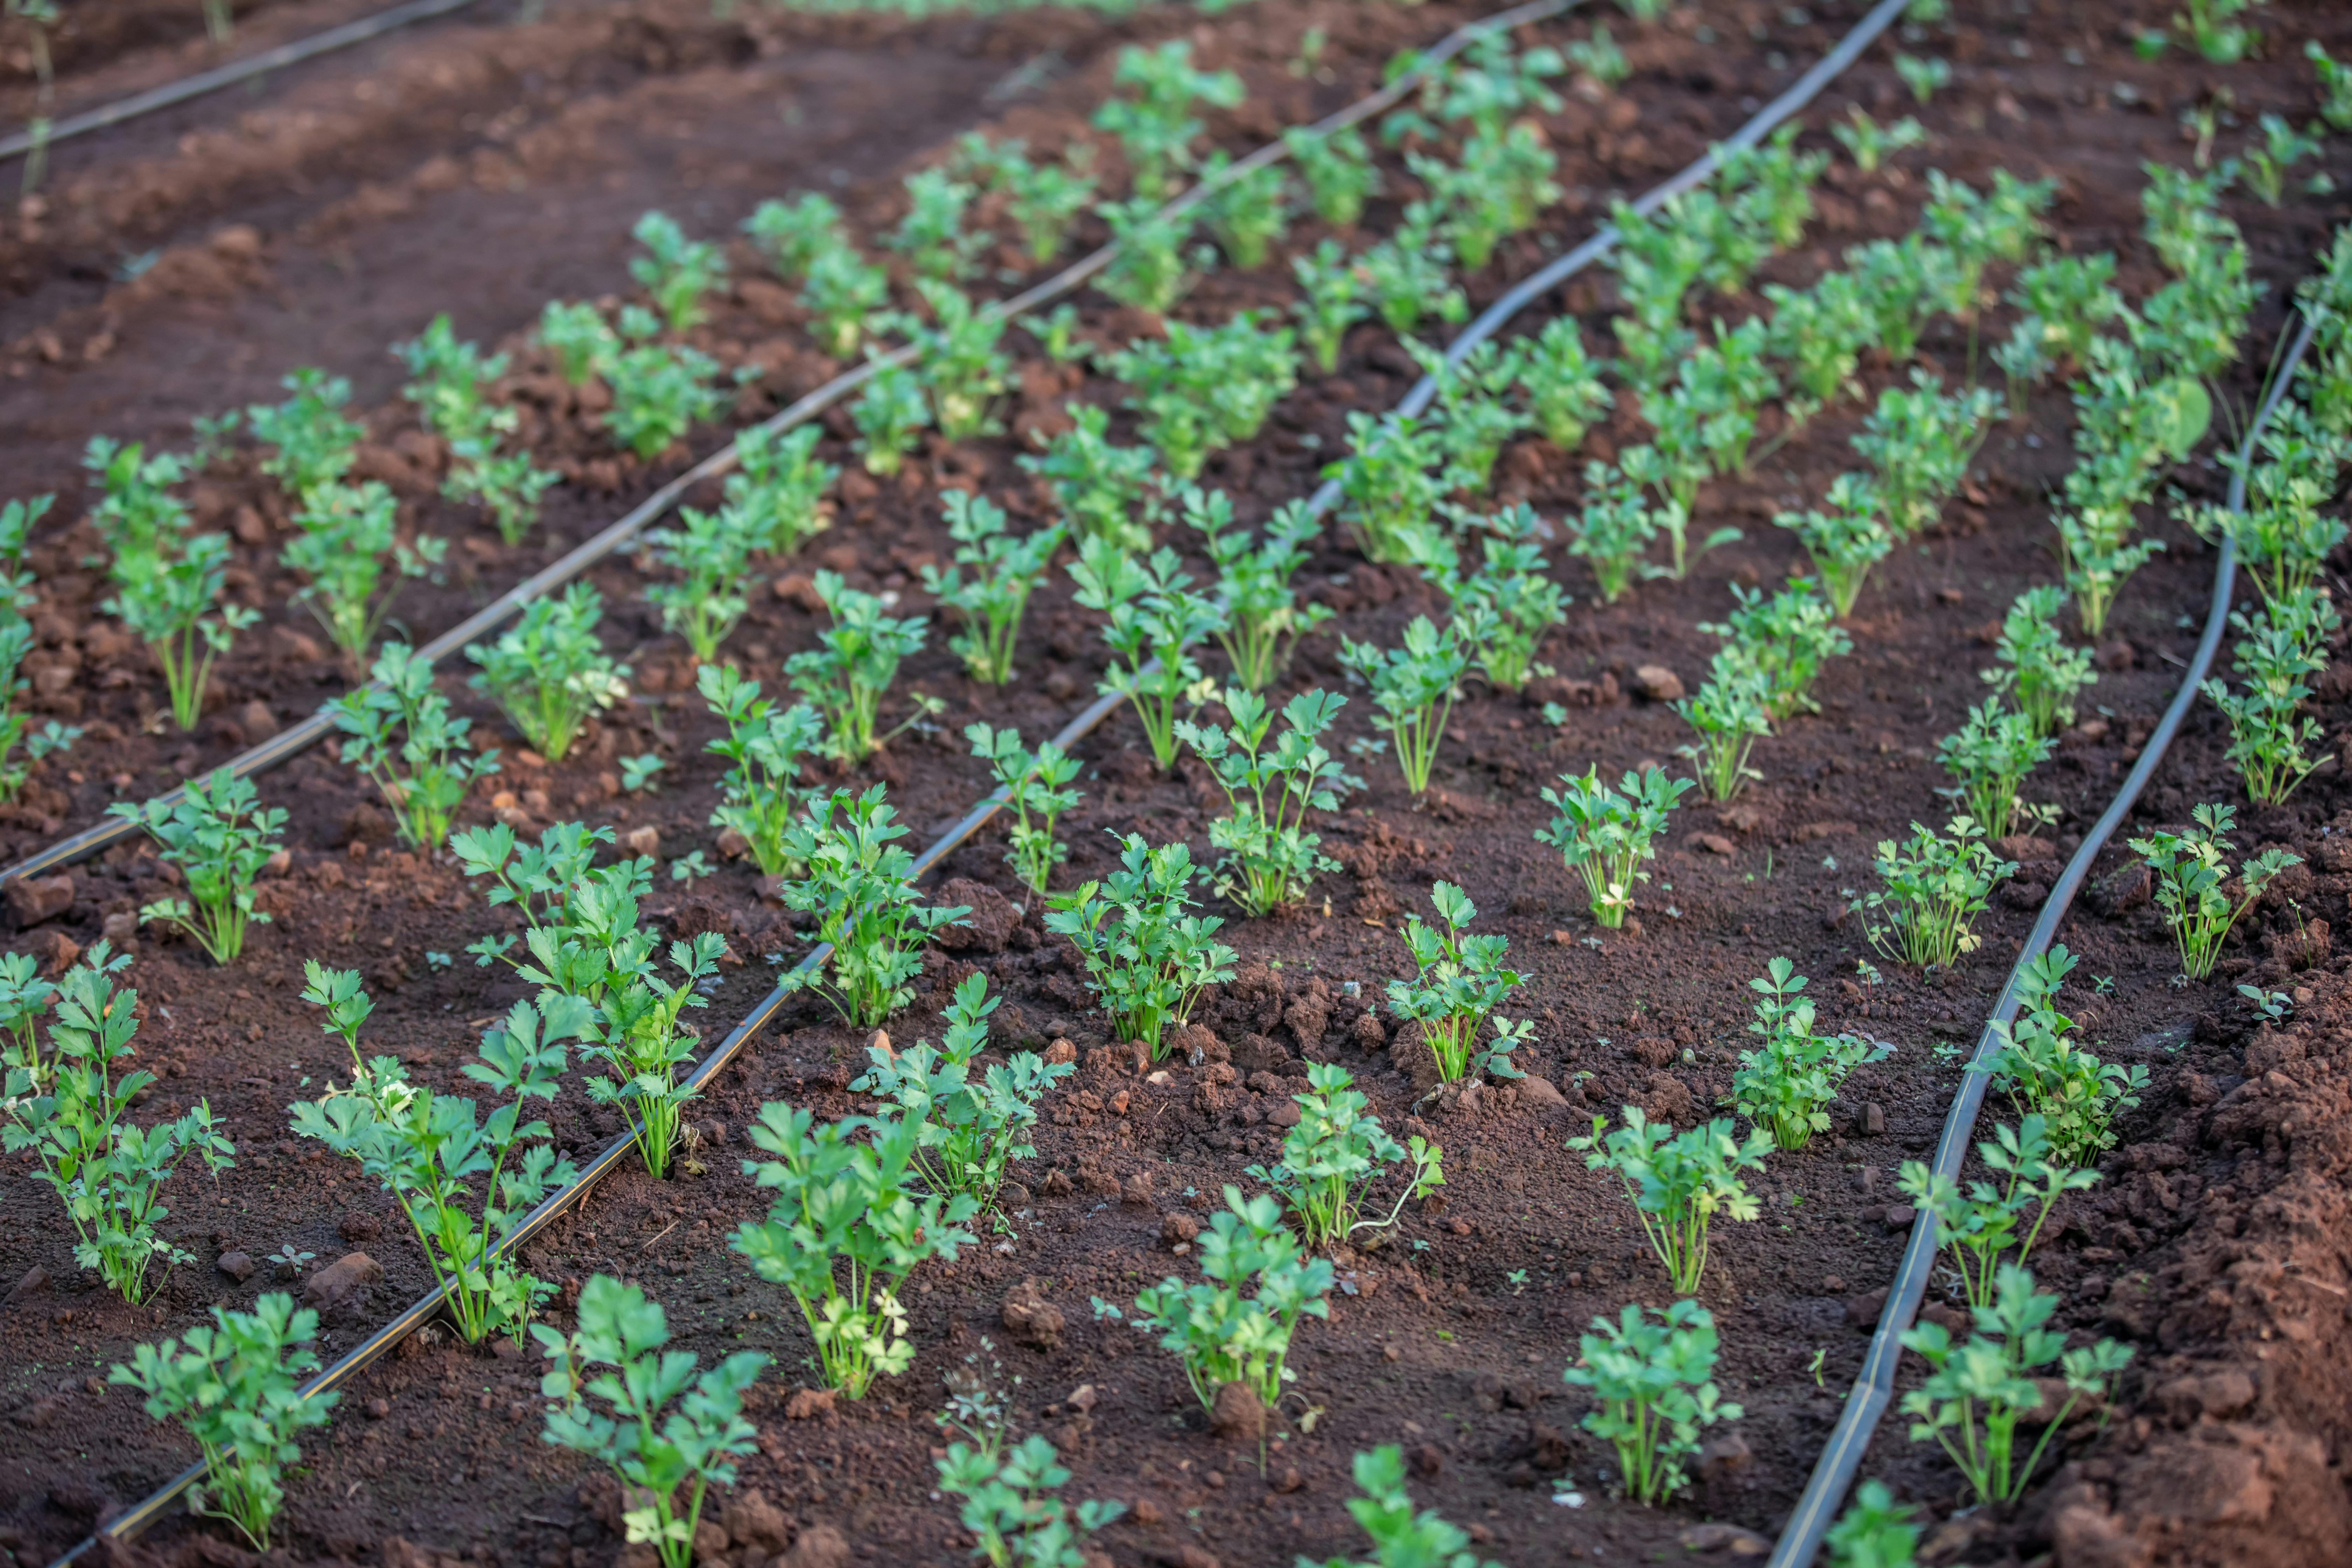
Drip irrigation delivers water directly to the base of plants, minimizing evaporation and water waste. It's ideal for gardens with a variety of plant species and soil types.
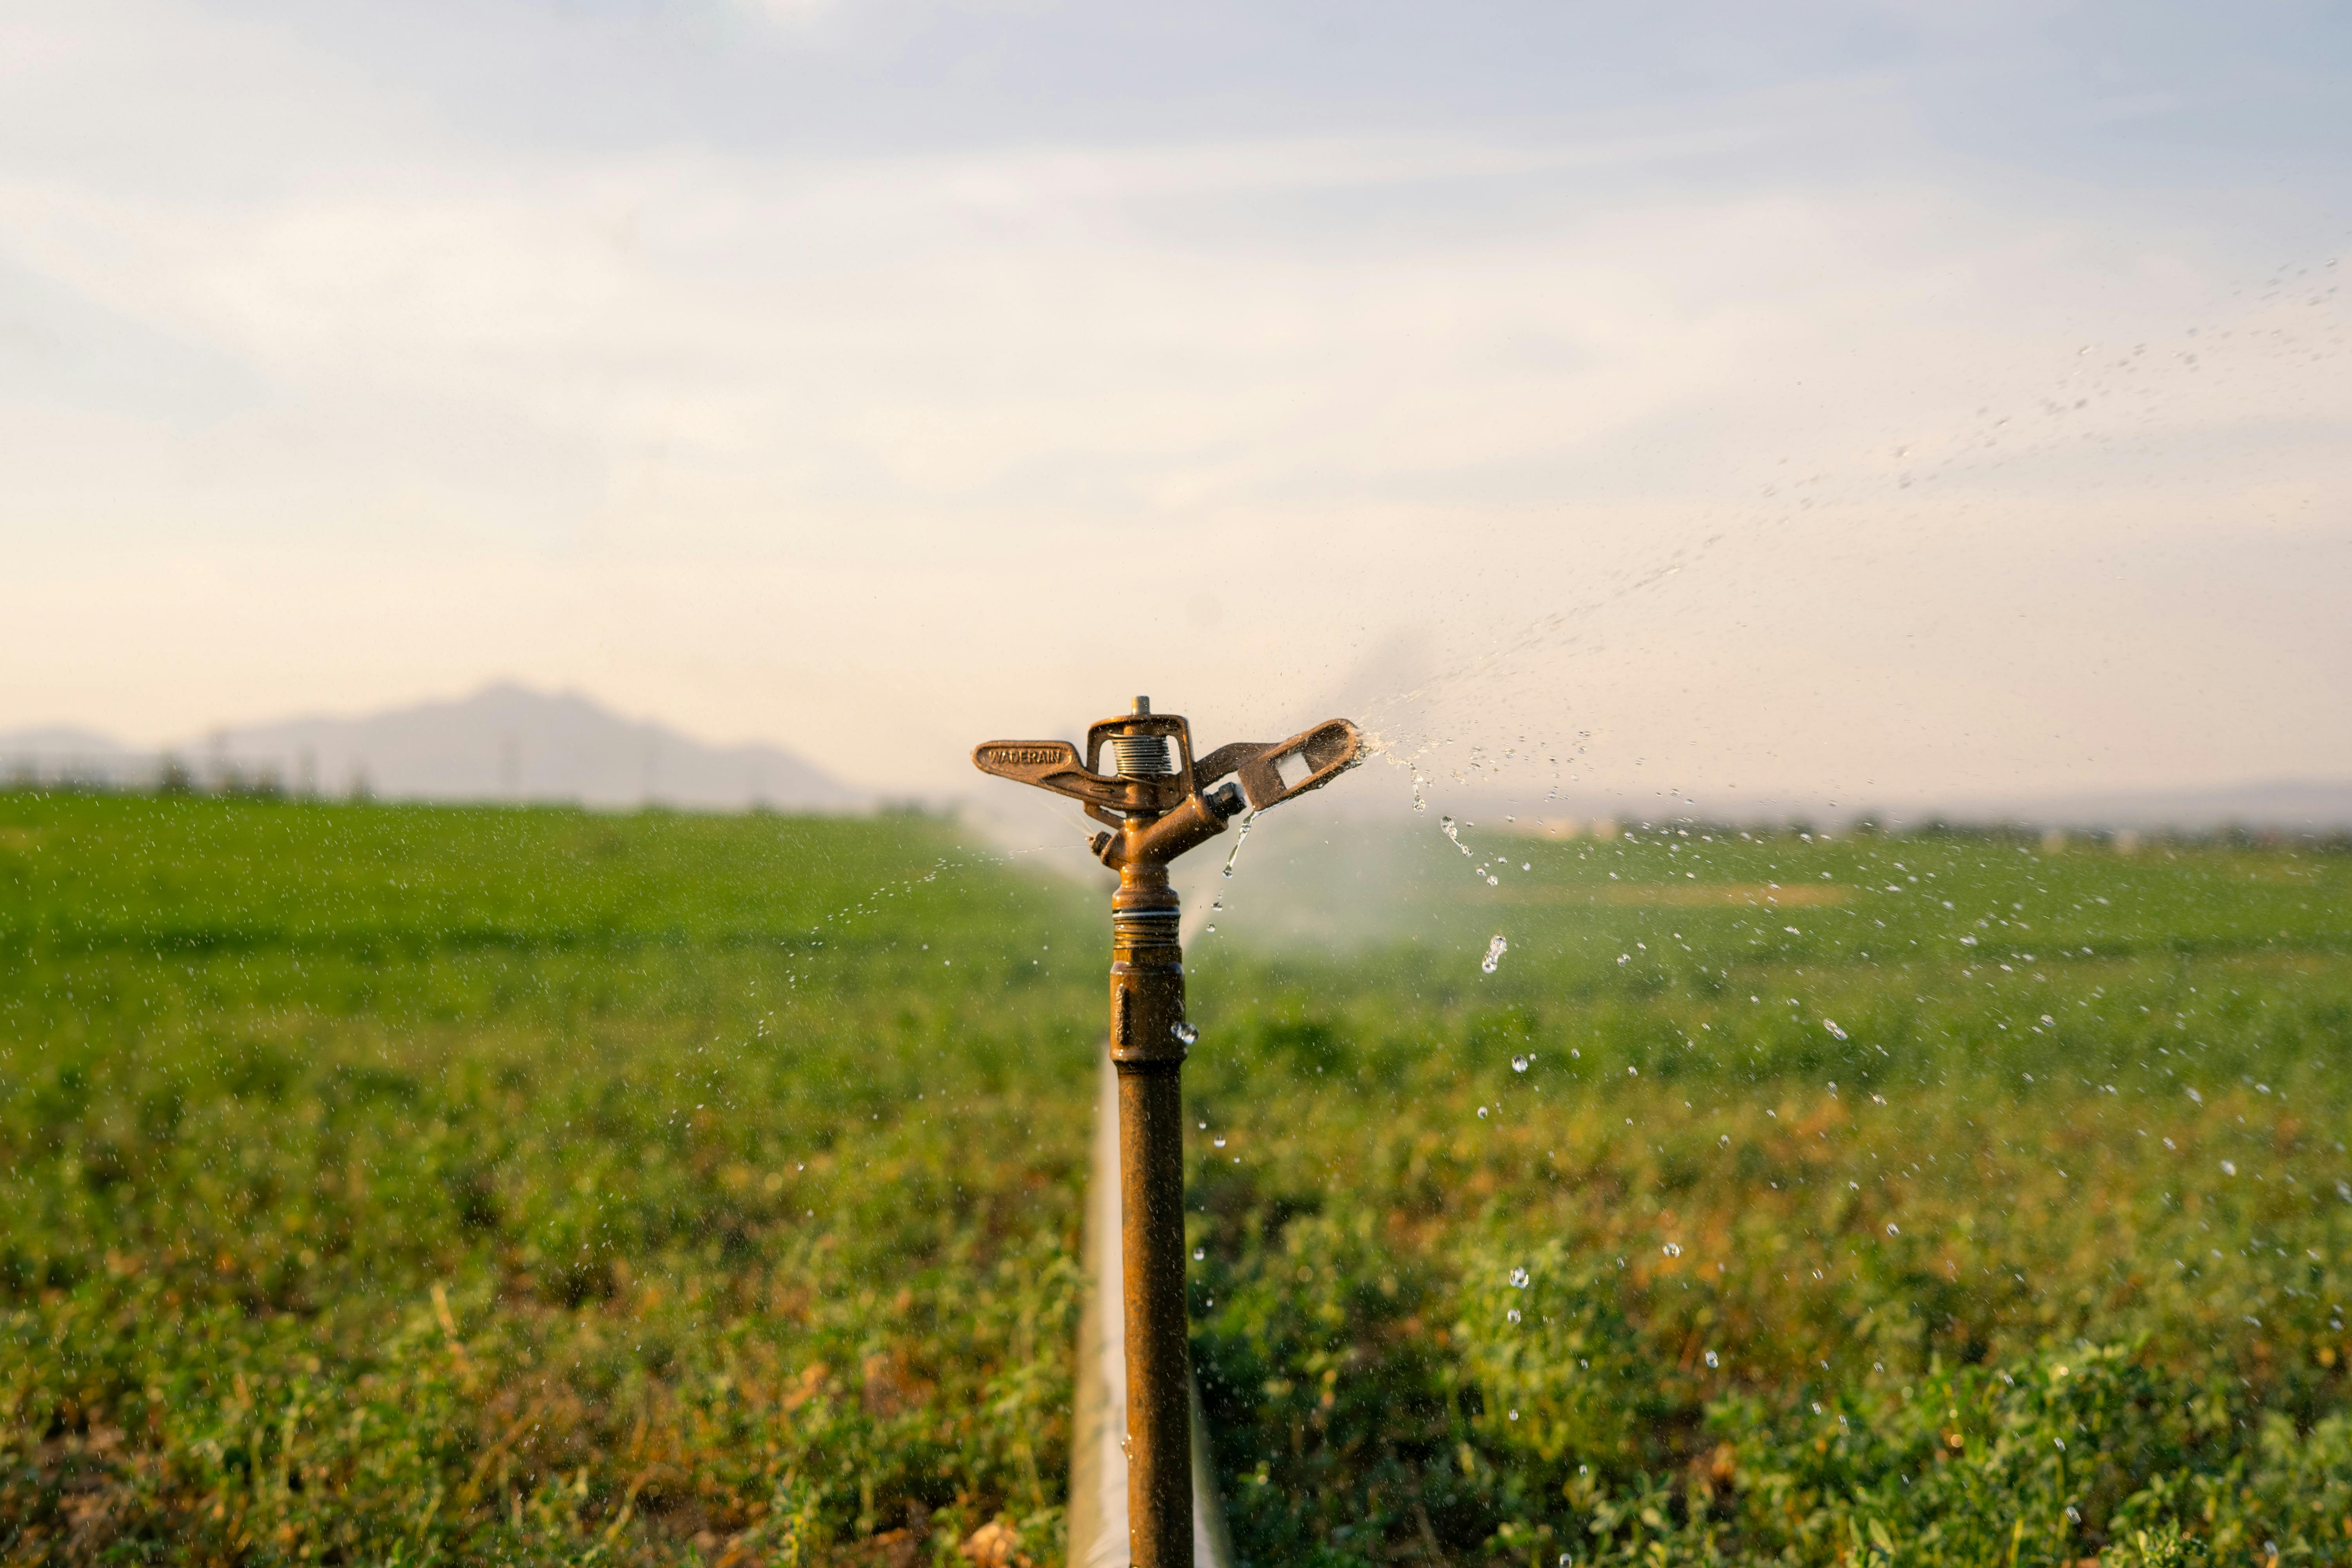
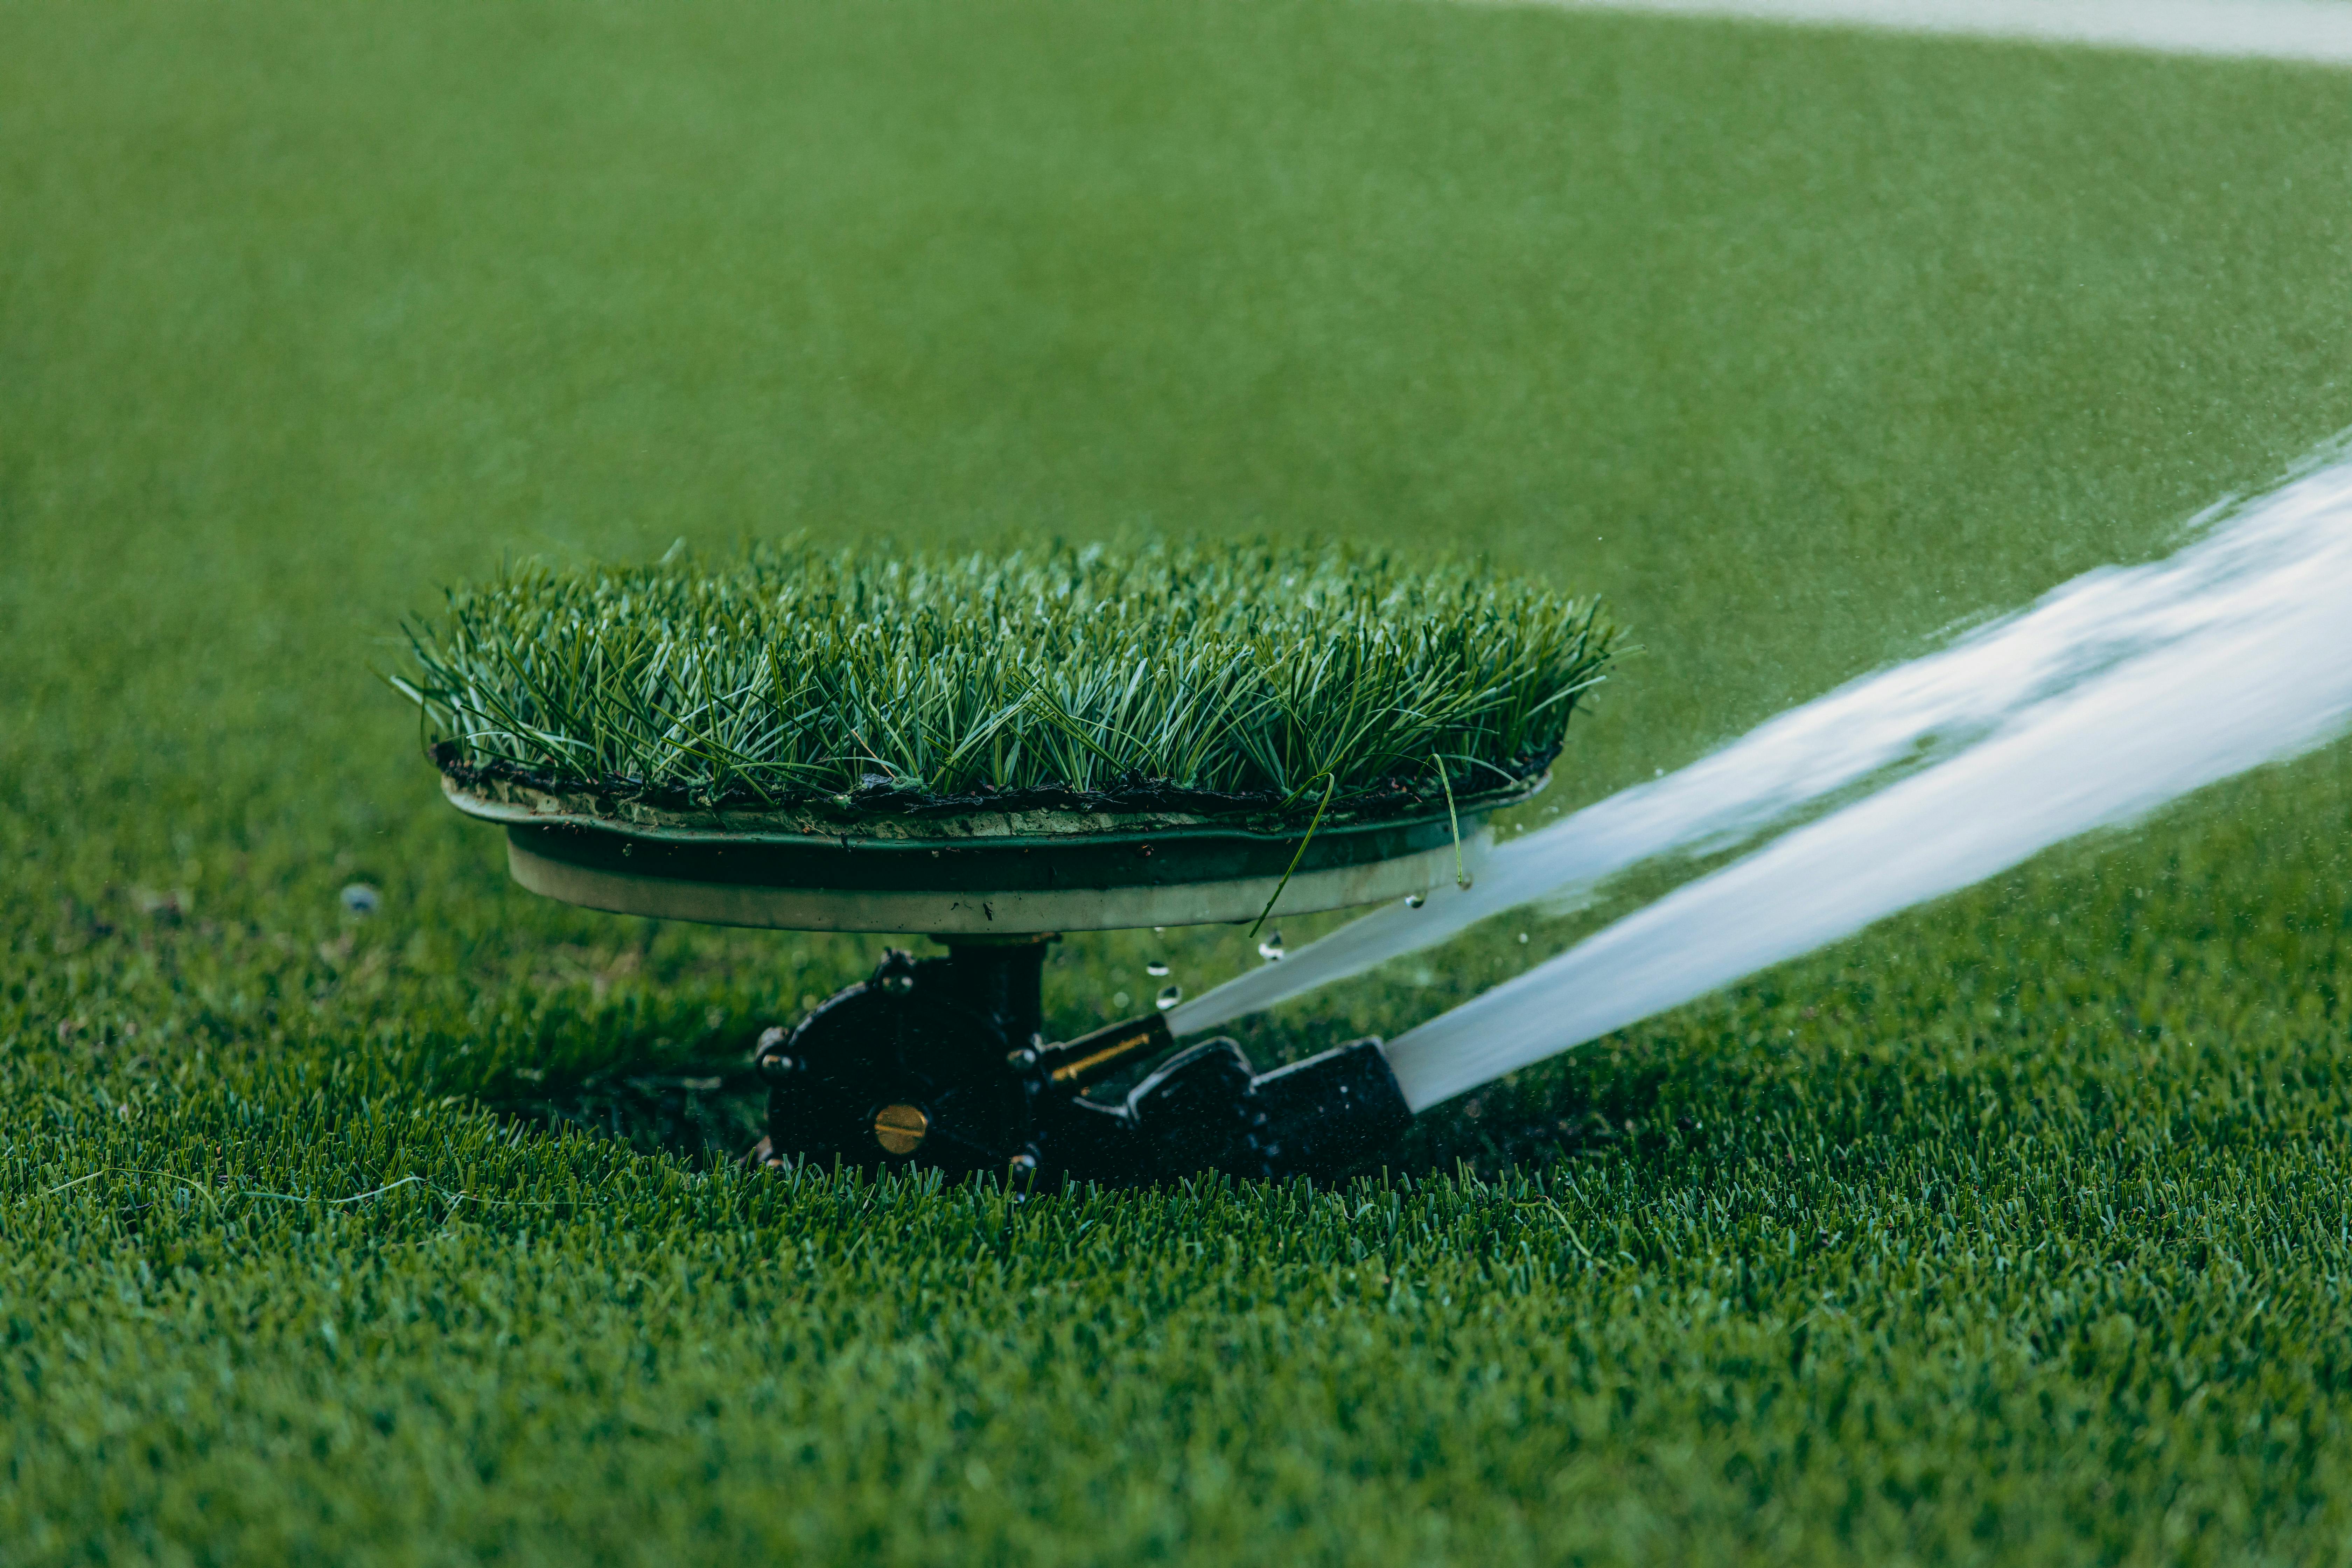
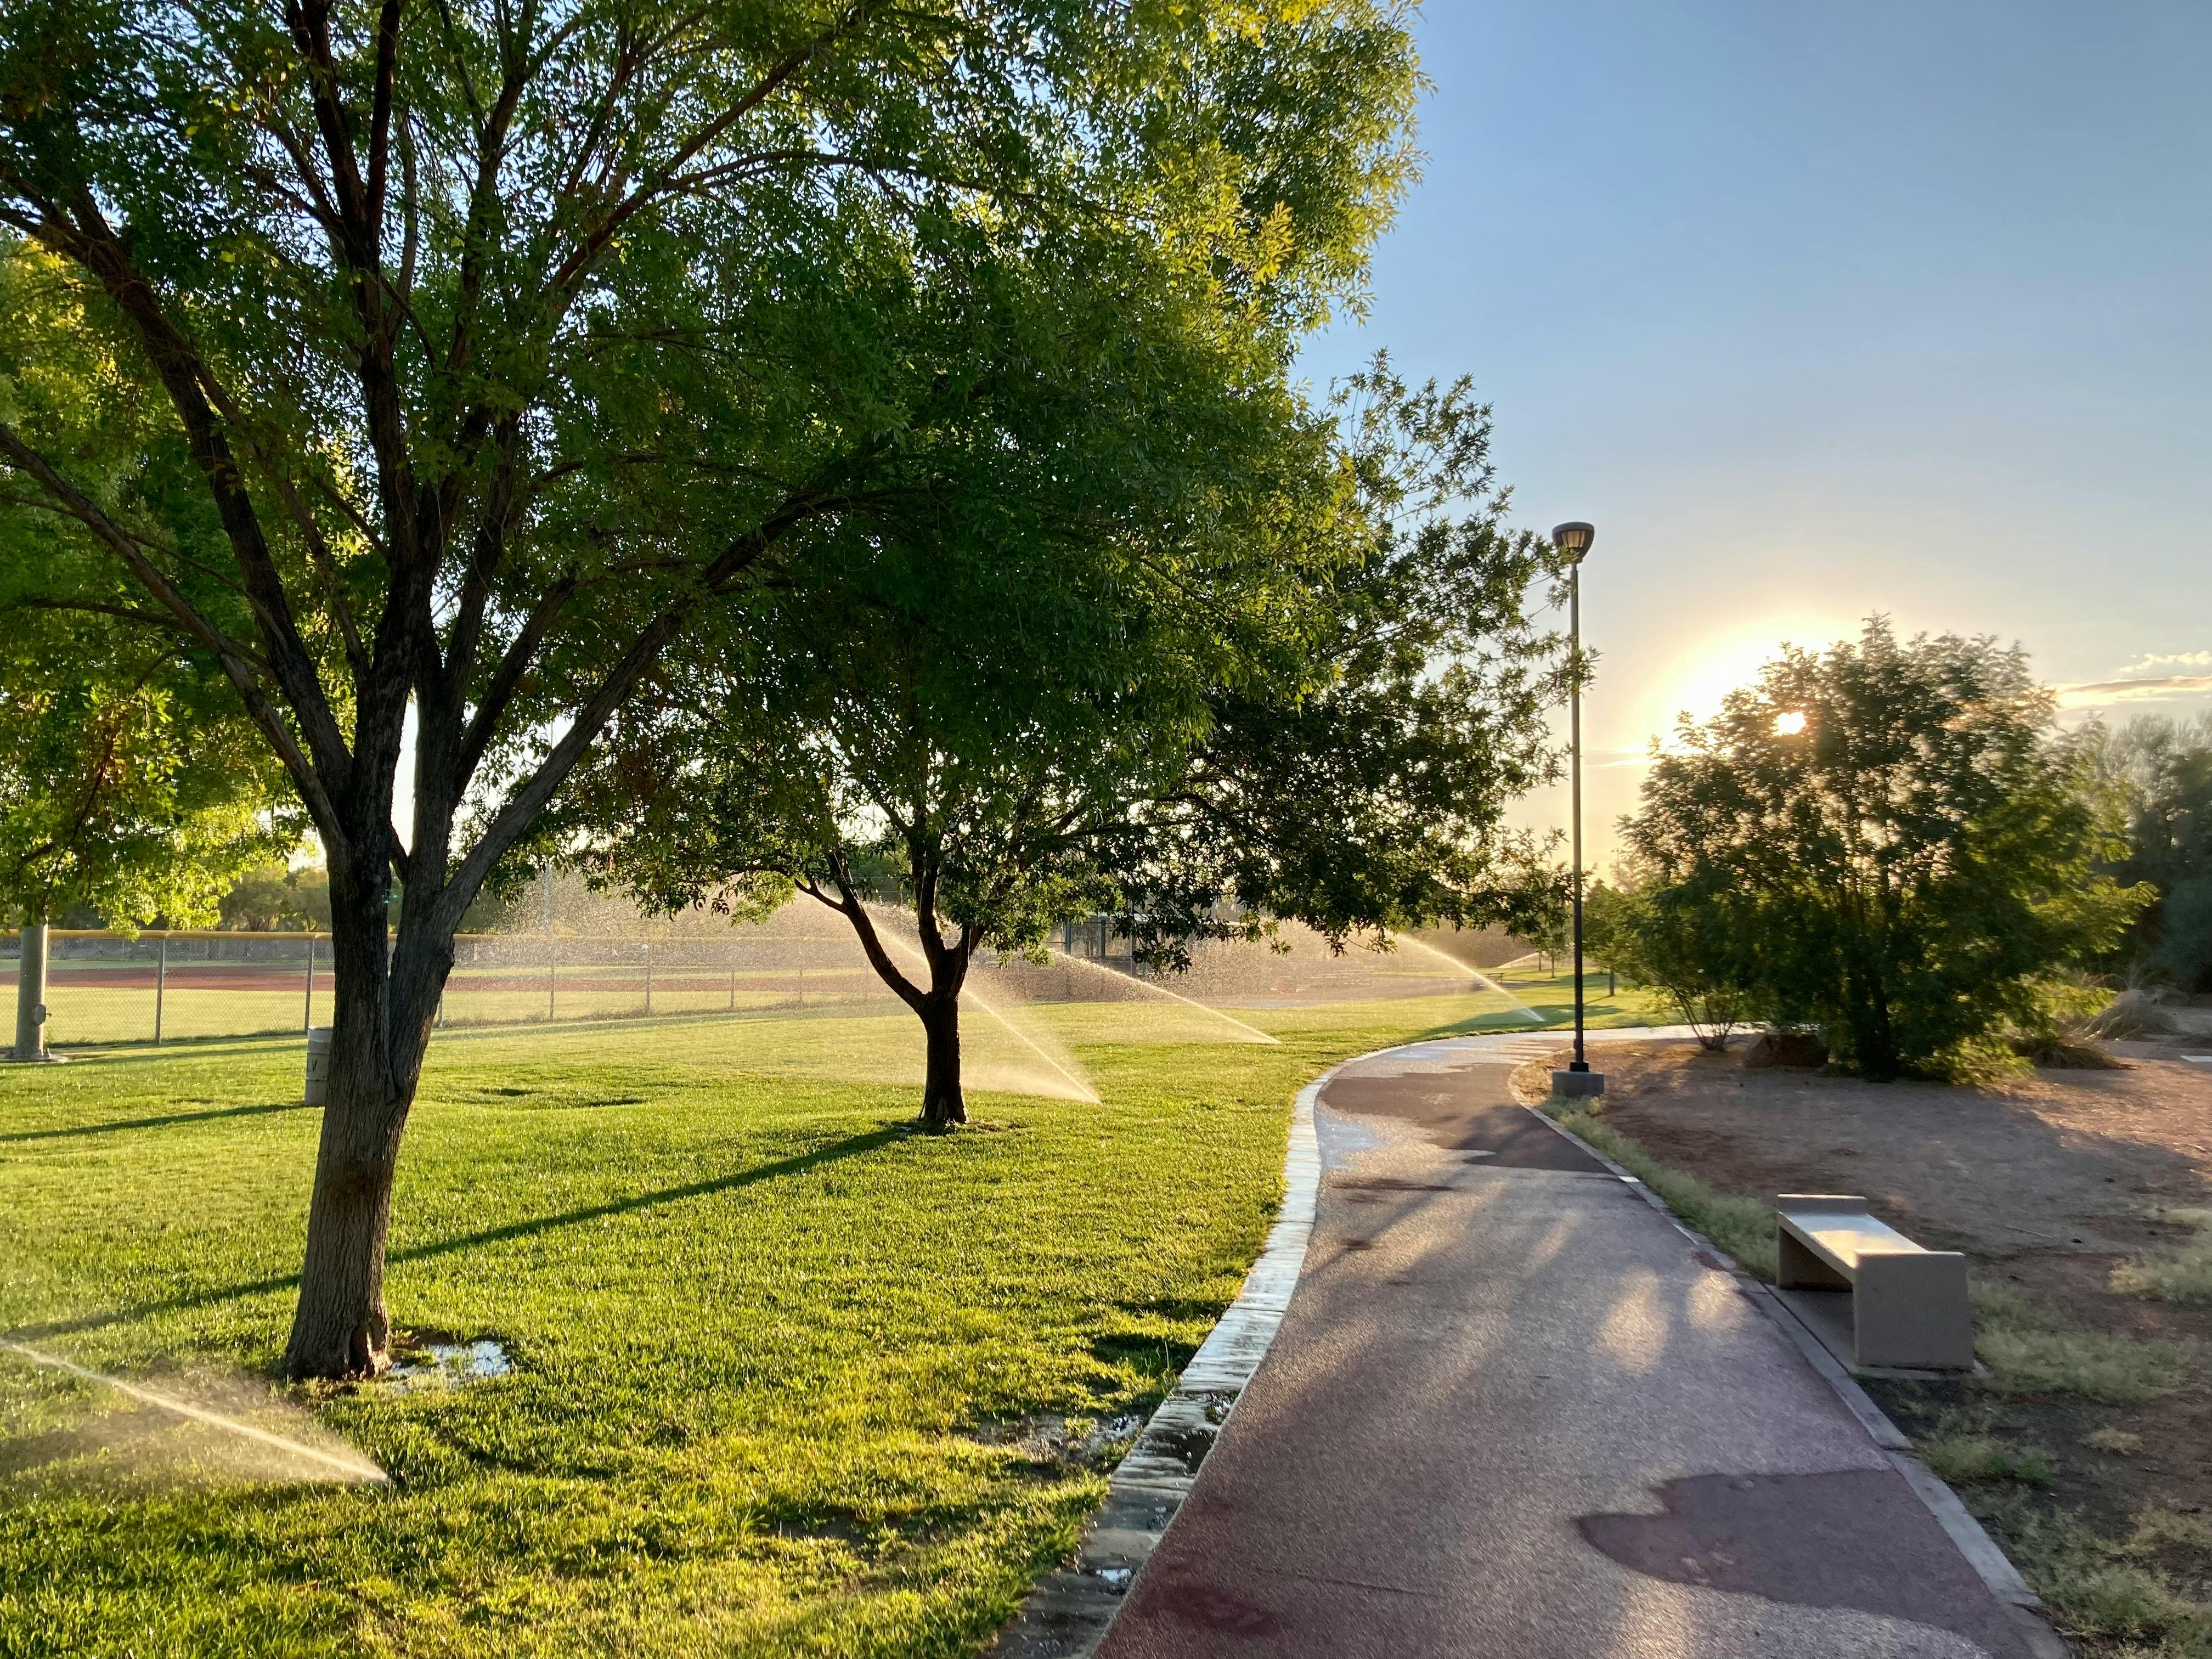
Sprinkler Systems
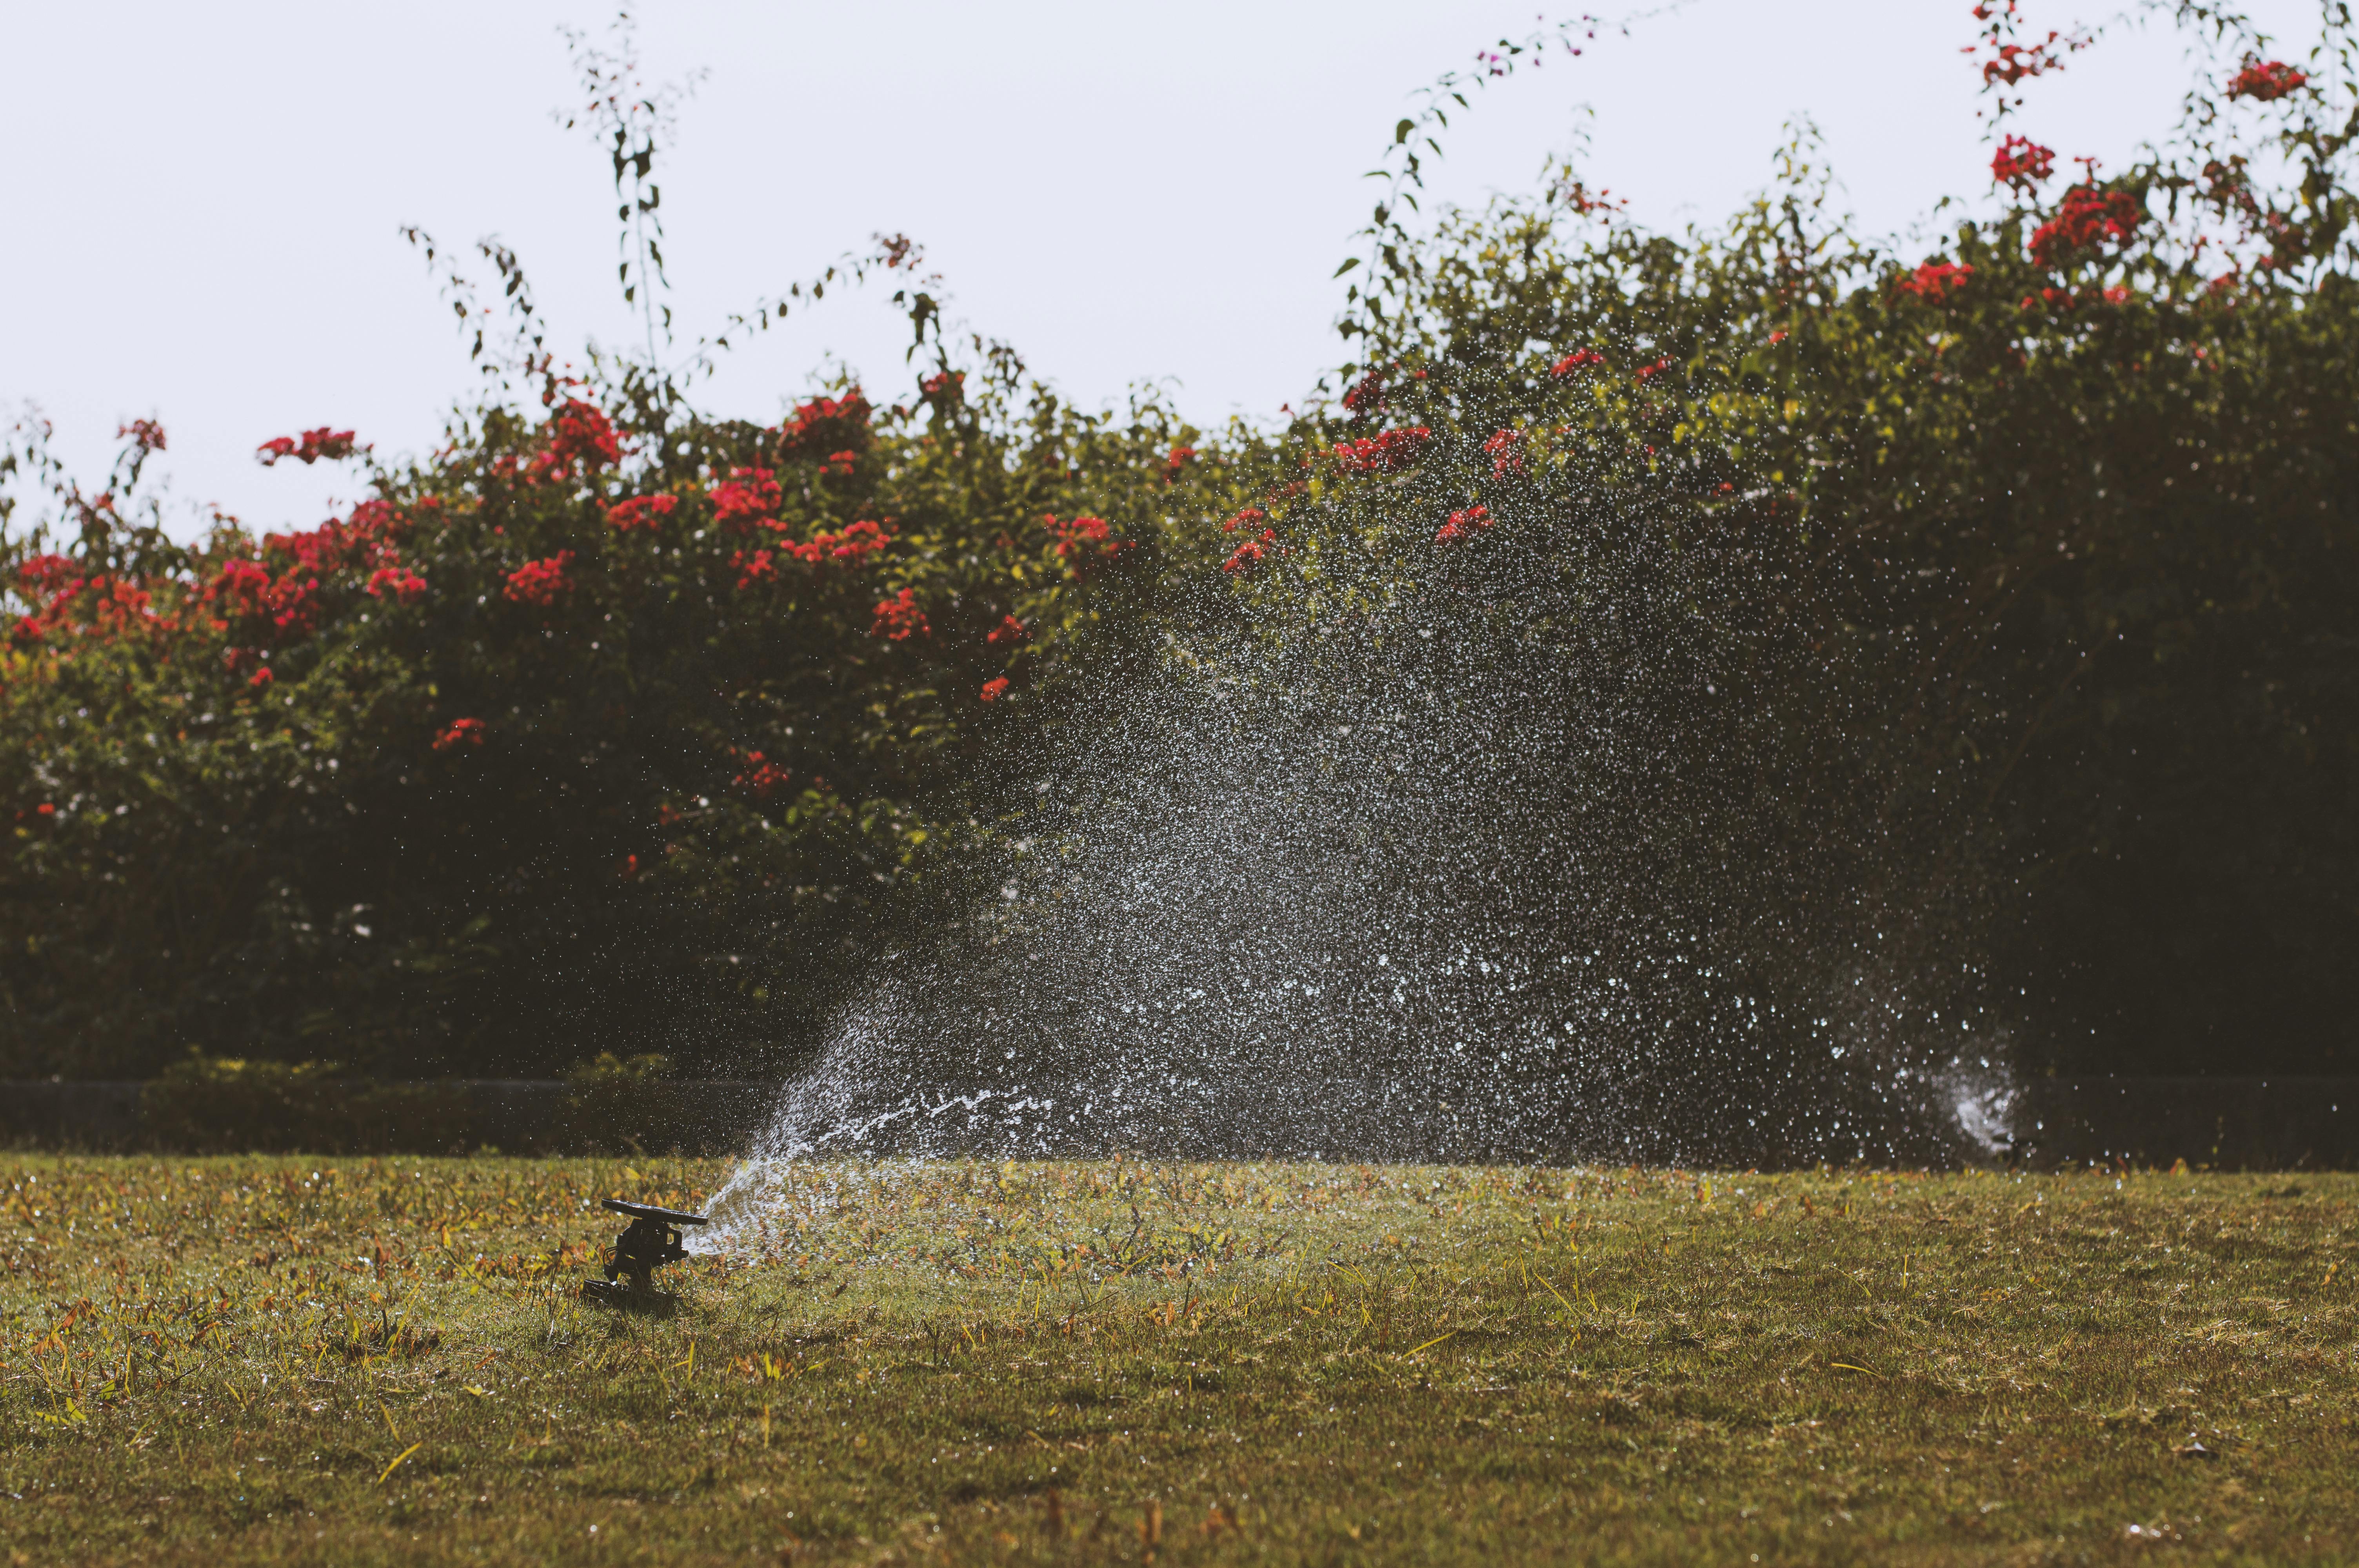
Sprinklers are excellent for covering large areas evenly, making them suitable for lawns and uniform plant beds.
Soaker Hoses
Soaker hoses are porous tubes that allow water to seep out slowly along their length. They are perfect for garden rows and raised beds.
Steps to Install a Basic Irrigation System
Once you've chosen a system, follow these steps to set it up:
Step 1: Plan Your Layout
Sketch your garden layout and mark where your plants are located. Decide where to place the main water line, emitters, and connectors. Consider the water pressure and flow rate to ensure even distribution.
Step 2: Gather Your Materials
You'll need tubing, connectors, emitters, stakes, and a timer. For a drip system, purchase pressure regulators and filters to prevent clogging.
Step 3: Install the Main Line
Lay the main tubing along the planned path. Use stakes to secure it in place. Connect the tubing to the water source.
Step 4: Attach Emitters
Using a punch tool, make holes in the tubing and insert emitters. Adjust the spacing based on plant requirements.
Step 5: Test the System
Turn on the water and inspect each emitter for proper flow. Adjust as needed to ensure all plants receive adequate water.
Maintenance Tips for Longevity
To keep your irrigation system running smoothly:
- Regularly check for leaks or blockages.
- Clean filters and emitters to prevent clogs.
- Adjust timers seasonally to account for rainfall and temperature changes.
Benefits of Installing an Irrigation System
Installing an irrigation system offers numerous advantages, especially in Osteen's climate:
- Water Conservation: Efficient systems reduce water waste and lower utility bills.
- Time Savings: Automated systems free up your time for other activities.
- Plant Health: Consistent watering promotes healthier plants and greater yields.
Conclusion
Setting up an irrigation system in your Osteen home is a worthwhile investment that pays off in lush, vibrant landscapes. With this beginner-friendly guide, you're equipped to tackle the installation process with confidence. For more complex systems or professional assistance, consider contacting PSI Water Control Inc. for expert advice and services tailored to your garden's needs.